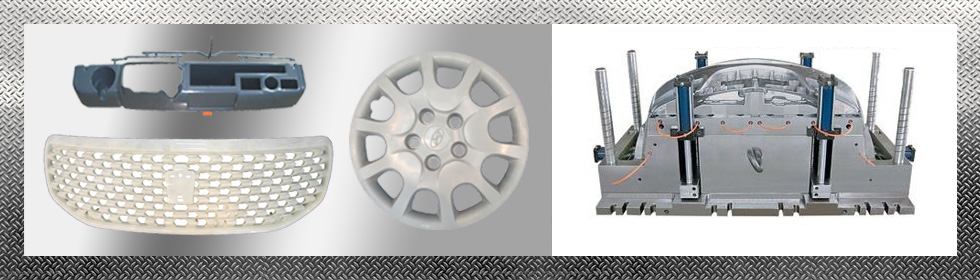
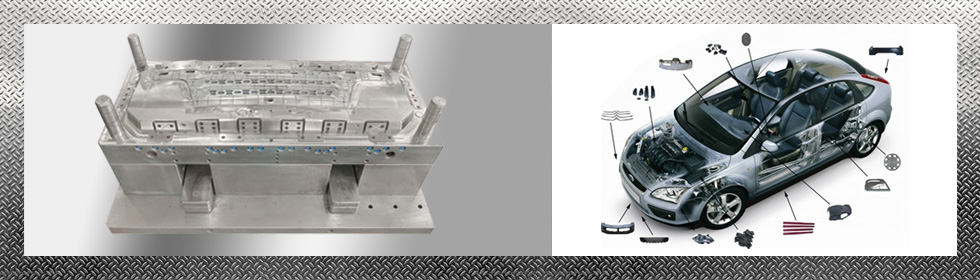
Injection molding is a fast, automated, versatile process that can produce precise, complex three–dimensional parts from a fraction of a gram to more than a hundred kilograms, in virtually any plastic material. The process starts with feeding small plastic beads into a heated screw and barrel system that melts the plastic into a high–viscosity liquid. The screw then forces the molten plastic into a closed mold that provides the shape, cooling and solidification, and finally ejects the part. Injection molding is a fast, automated, versatile process that can produce precise, complex three–dimensional parts from a fraction of a gram to more than a hundred kilograms, in virtually any plastic material. The process starts with feeding small plastic beads into a heated screw and barrel system that melts the plastic into a high–viscosity liquid. The screw then forces the molten plastic into a closed mold that provides the shape, cooling and solidification, and finally ejects the part.
Injection molding is fast and can be economical. But because every part needs its own costly injection molding tool, the process is economically viable only for mass production, usually more than 10,000 parts. Injection molding tools take weeks or months to build. Often, design mistakes become apparent, requiring time–consuming mold corrections. Multiple iterations may go from the producer to the tool builder until the final part design and quality are achieved, increasing costs and product time to market.
Production–material prototypes, crucial for the design process, are difficult to justify financially, because they require the same costly tooling as the finished product. Further, they are most useful when produced quickly, but tooling takes time.
Several traditional rapid–prototyping technologies can produce precise, complex parts, but these techniques use special plastics, usually very different from production materials. Another conventional prototyping method substitutes lower–cost, simplified and smaller tools (e.g. one cavity instead of multi–cavity) or tools made from softer, cheaper aluminum. Some cost is saved, but the tools are still expensive and time–intensive to produce.
A different approach is to produce the tool with 3D printing (also called additive manufacturing). The printed injection molding tool (PIMT) can be installed on the injection molding machine to mold the part using the actual production material. PIMTs can be built cheaply and fast, ready to inject in a few hours. If design changes are needed, the corrected PIMT may be ready and installed in the injection machine the same day.
PIMTs are not production tools; however they provide a clear advantage, being both cheaper and faster when a limited quantity of parts is needed, such as for commercial prototyping.
Application Checklist
PolyJet tooling is a best fit for injection molding when:
- 1.Complex geometries or parting lines are present
- 2.Low quantities are needed
- 3.Design changes are likely
- 4.Rapid prototyping from the final material is important
Benefits of PolyJet tooling for injection molding include:
- 1.Reduced lead times
- 2.Lower–cost design iterations
- 3.Faster tool output
Steps
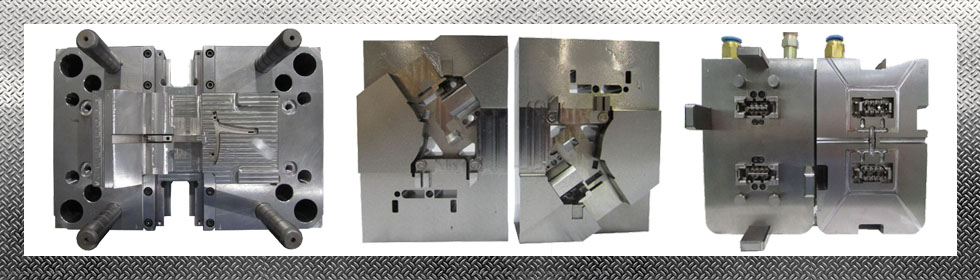
1. Design the tool: The sprue should be a metal insert to protect the printed tool. Larger draft angles should be applied and the mold should be oversized to account for shrinking.
2. Print the tool: Orient and process for best surface finish. Use recommended PolyJet material to match the requirements of the injected materials.
3. Set up the printed tool: Assemble the tool on the base mold. Ensure tight tolerance between ejector pins and printed ejector–pin holes.
4. Check mold parameters and mold the part: Adjust injection pressures, temperatures and cycle times to improve tool life. Compressed air can cool the tool between cycles.
5. Impregnate the fibers; in this stage the fibers first meet the matrix resin. It is important to make sure the fabric absorbs the resin well.
6. Evaluate your prototype: Eject the final part from the mold and remove flash. Ensure the mold has cooled sufficiently before the next cycle.
Application Outline — PolyJet
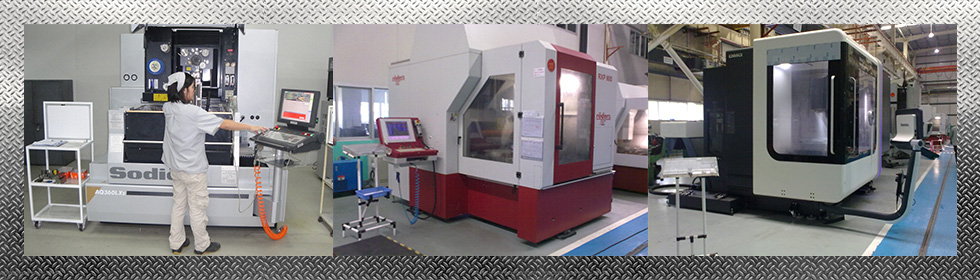
This process starts with CAD design of the tool. In general, tool design for injection molding requires deep understanding of the process and vast experience in design. The tool designer should consider the following changes to conventional steel tool design. Contact a Stratasys application engineer for further guidance.
- Create the 3D printed tool as an insert to be mounted into a metal mold base.
- Align PolyJet print lines with main flow direction.
- Oversize the gates and runners, since the gate area generates high temperatures and pressure. Enlarging it helps reduce this local stress and increases tool life.
- Increase draft angles; at least a 1.5 degree angle is required for side walls — the more the better.
- Ensure good venting
Contact a Stratasys application engineer for further guidance.
The printed tools are assembled onto a steel base mounted on the injection molding machine. The injection molding cycle is longer when using printed tools because of the longer heat transfer rate of the PIMT. It is typical to cool the tool halves between molding cycles using compressed air.
Printed tools have produced parts made from the following major thermoplastics: polypropylene, polyethylene, ABS, TPEs, nylon and acetals. Note that plastics requiring temperatures hotter than 250 C will shorten the life of the tool.
|